This guide provides step-by-step instructions on how to remotely add cash float to a point of sale (POS) system through the Mosaic POS Back Office. It covers different types of funds, assigning the transaction to a specific terminal and cashier, sele
1. Navigate and login to Mosaic POS Back Office https://admin.mosaic-pos.com/
Pumunta at mag login sa Mosaic POS Back Office https://admin.mosaic-pos.com/
2. Click this to display the labels.
Piliin ang Menu para ipakita ang iba't ibang labels.

3. Click "Store Settings".
Piliin ang "Store Settings".
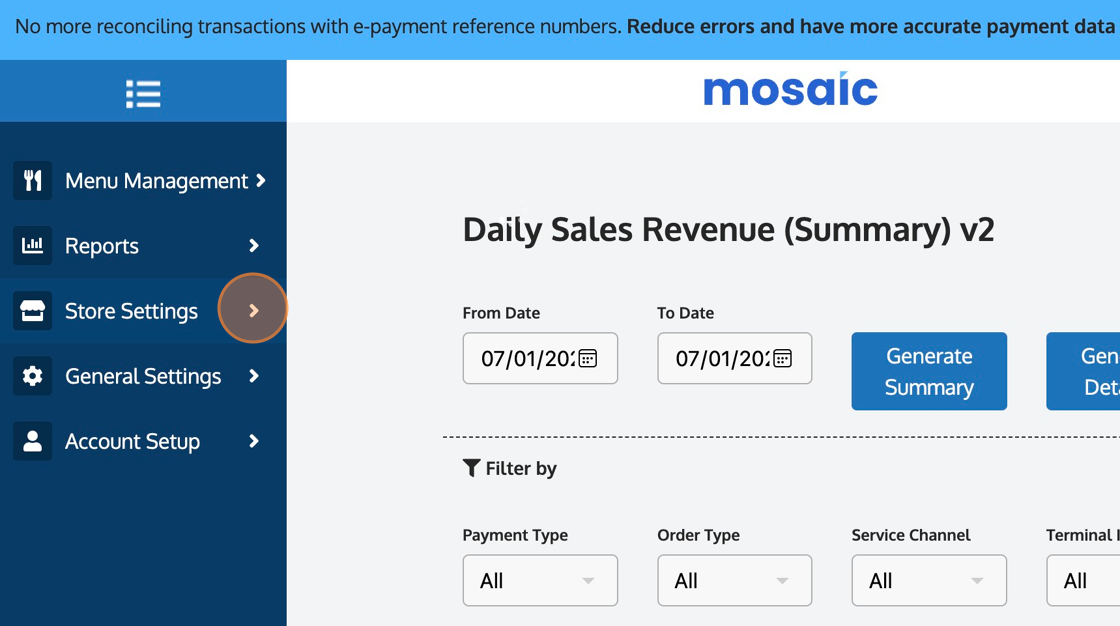
4. Click "Float Management".
Piliin ang "Float Management".

5. Click "Cash Float".
Piliin ang "Cash Float".

6. Click "Add Cash Float" to start the process.
Piliin ang "Add Cash Float".
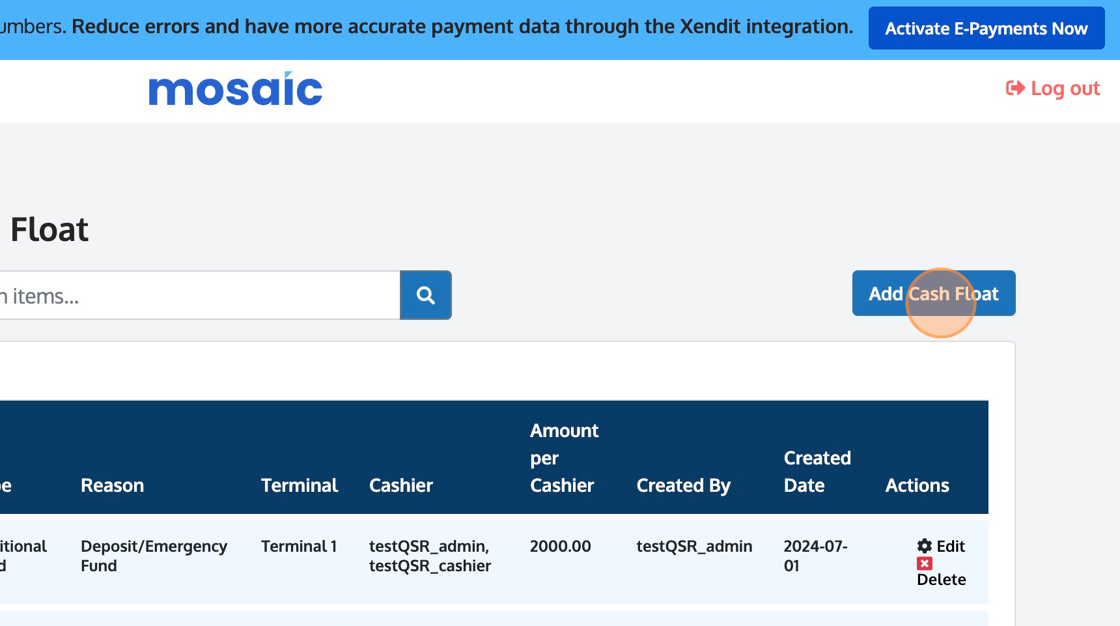
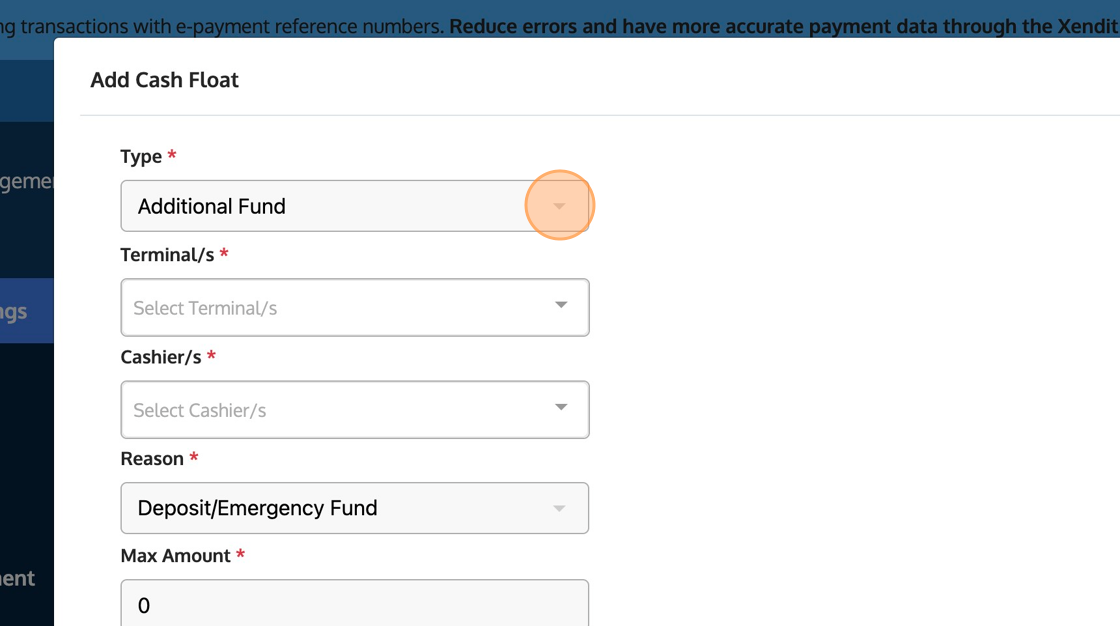
7. Click what type of fund.
Pumili kung anong klaseng fund ang gagamitin.
Beginning Fund - performed only once every after successful Day End or Shift Change.
Additional Fund - performed when there's a requirement to deposit in the middle of operations.
Withdraw Fund - performed when there's a requirement to withdraw cash from the POS for valid business reasons and activities.
8. Select which terminal you'd like to assign this Cash Float transaction. If you only have one POS terminal, just select the first option "Terminal 1".
Piliin aling terminal ang gagamitin para sa Cash Float transaction. Kung isa lang ang ginagamit na POS terminal, piliin lamang ang "Terminal 1".

9. Select the cashier you are assigning this transaction to. This will be reflected onto the reports.
Piliin ang cashier na naka assign sa transaction. Ito din ang impormasyon na kasamang lalabas sa reports.

10. In this example, we only have account "testQSR_cashier". We will select this.
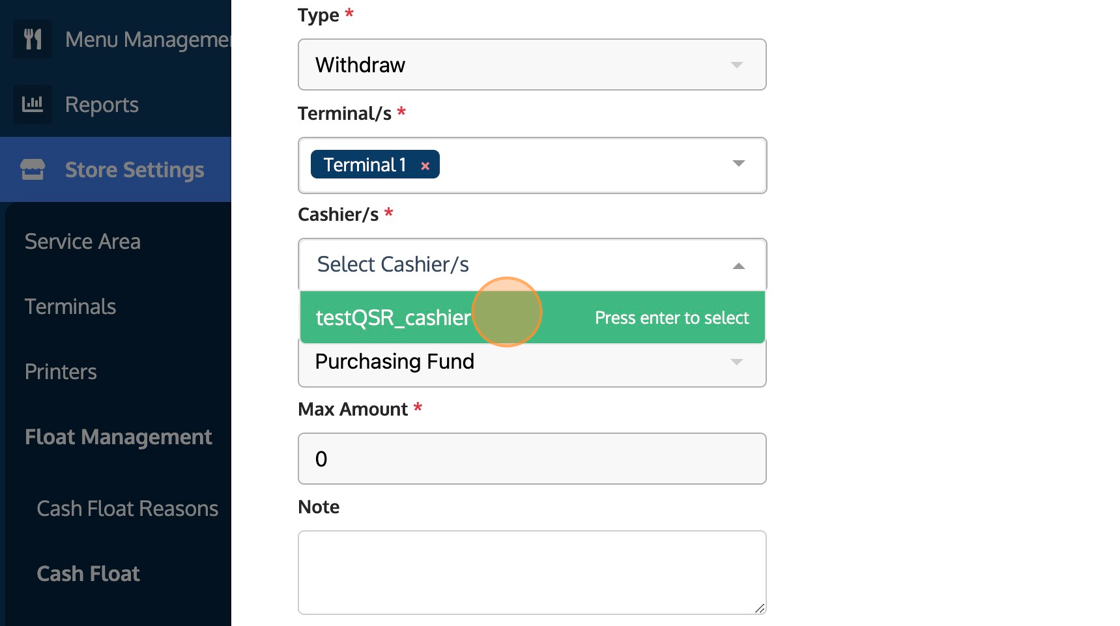
11. Now select the appropriate reason for this transaction.
Piliin ang gagamitin na rason para sa transaction.

12. Enter the withdrawal or deposit amount.
Ilagay ang amount para sa deposit o withdrawal.
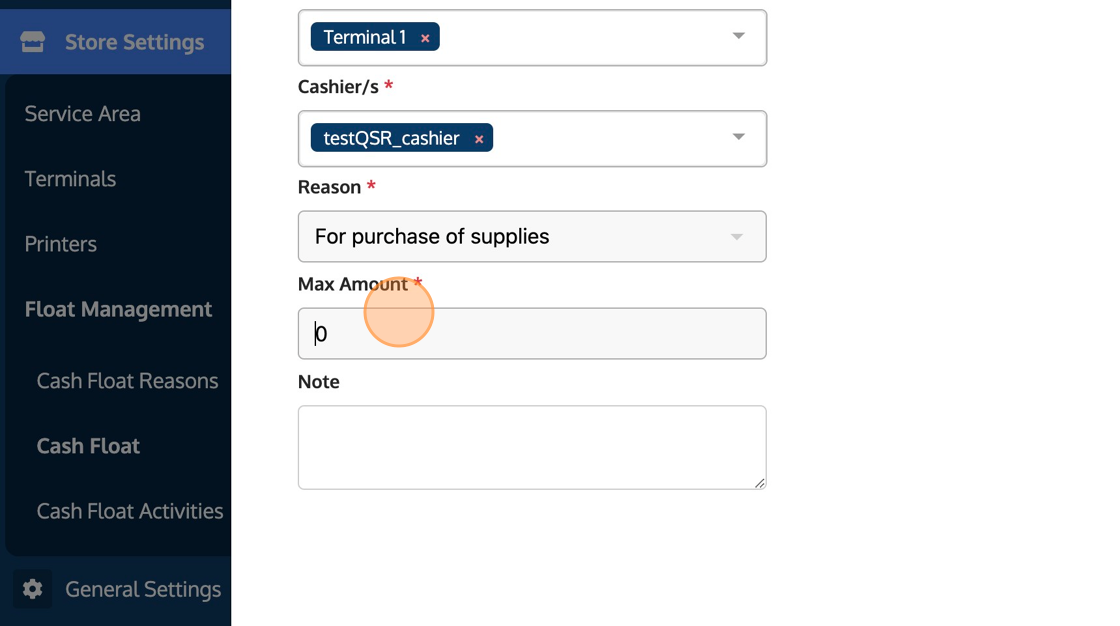
13. Enter a note for easier recall specially in the future as this tends to be forgotten.

14. When done, click "Save". This will record this transaction onto the main table.
Pindutin an "Save". Ito ang mag rerecord sa transaction sa main table.
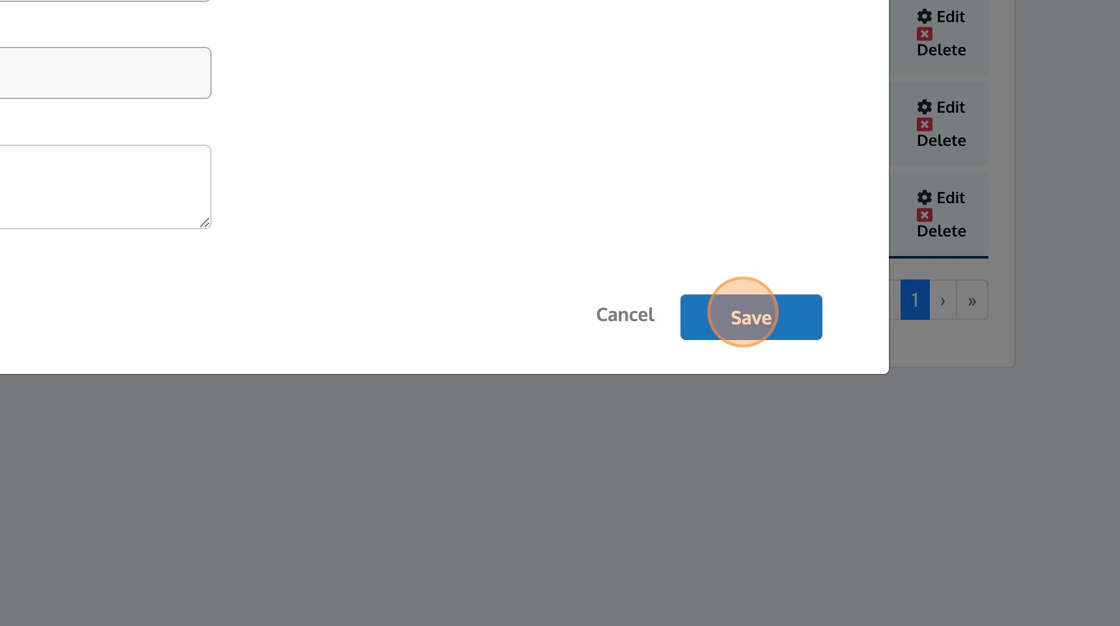
You have successfully remotely created a cash float transaction.
.png?height=120&name=Mosaic%20Full%20Logo%20Blue%20(Transparent).png)