Overview

Purchase Order is the next stepe after creating and approving purchase requests. As seen on this diagram, it is Steps #3 and #4.
Steps
1. Navigate to https://app.restoiq.com/
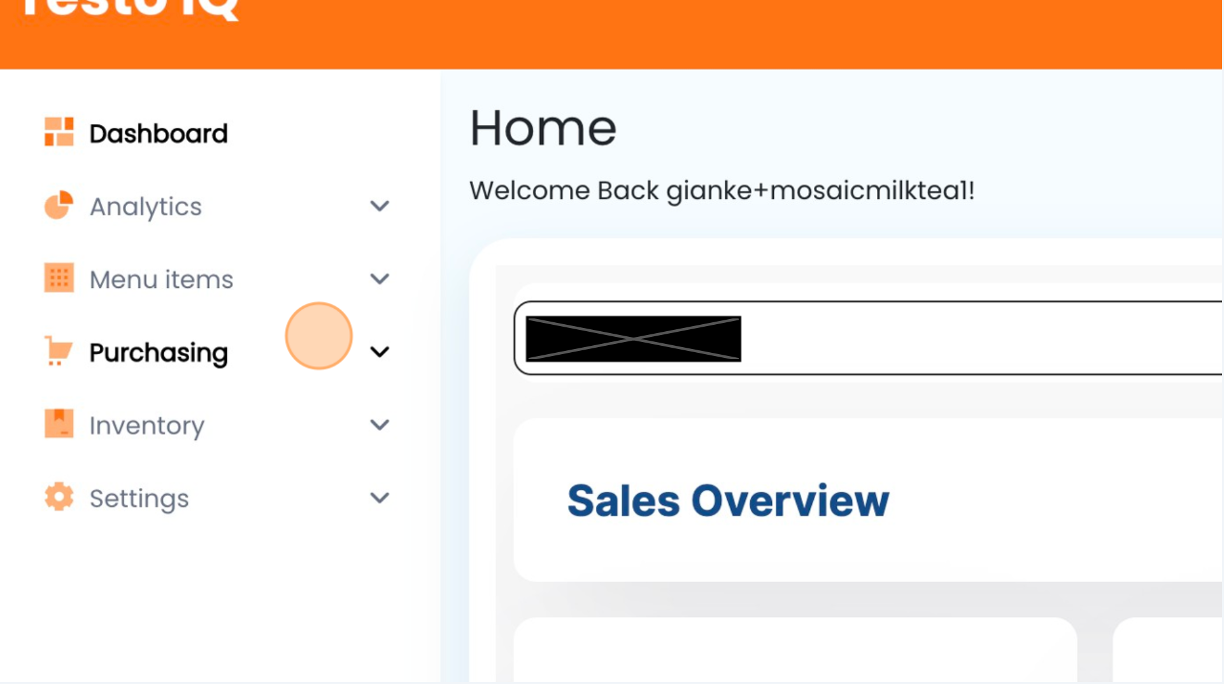
2. On the Navigation Pane, click "Purchasing".
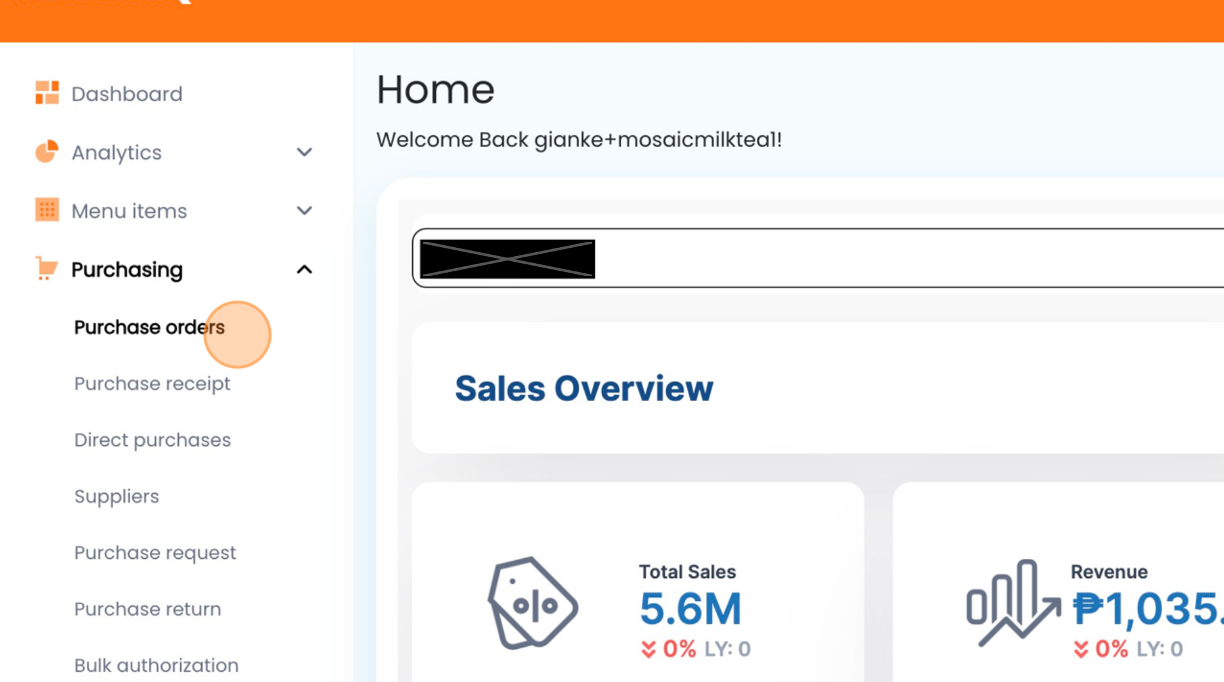
3. Select "Purchase Orders".
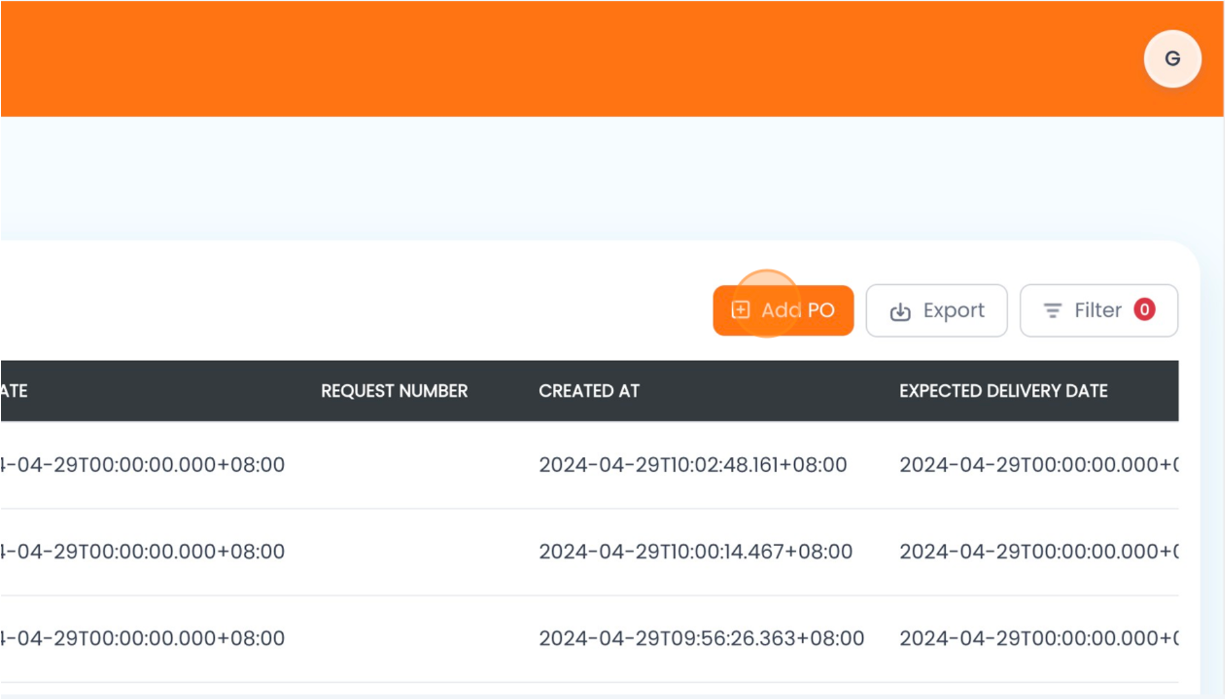
4. On top of the main table, click "Add PO" (also known as Purchase Order).
5. When the "Add Purchase Order" window opens, select the location of the store/branch who initiated the Purchase Request.
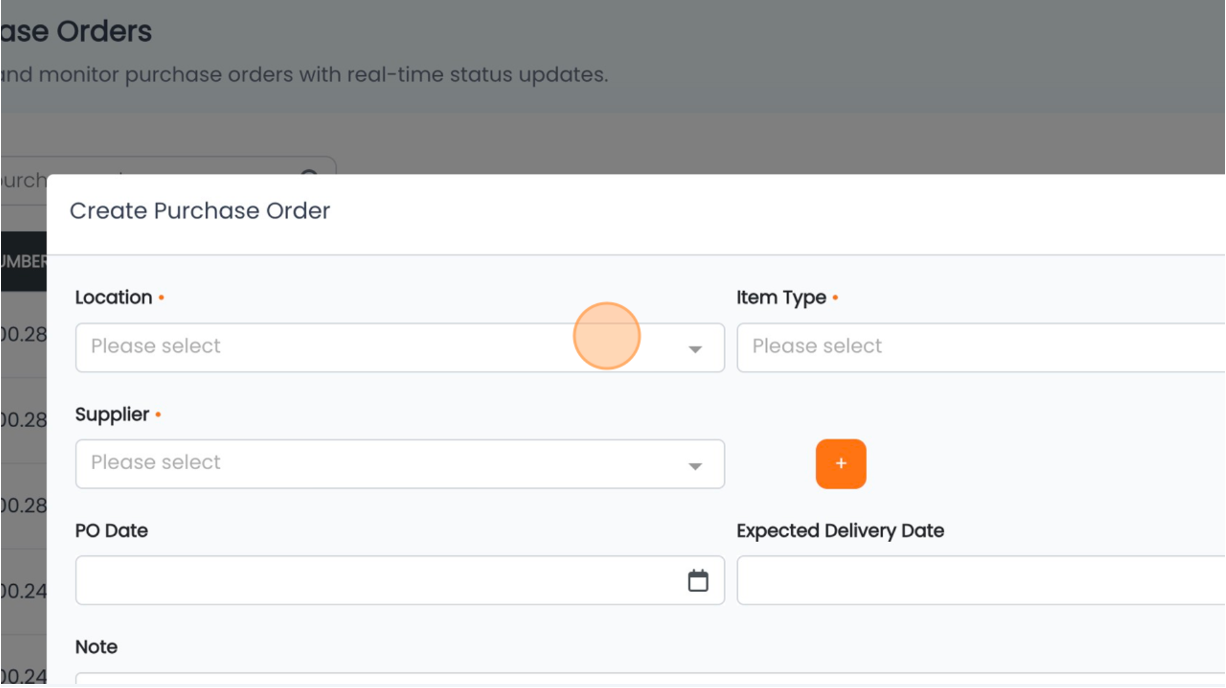
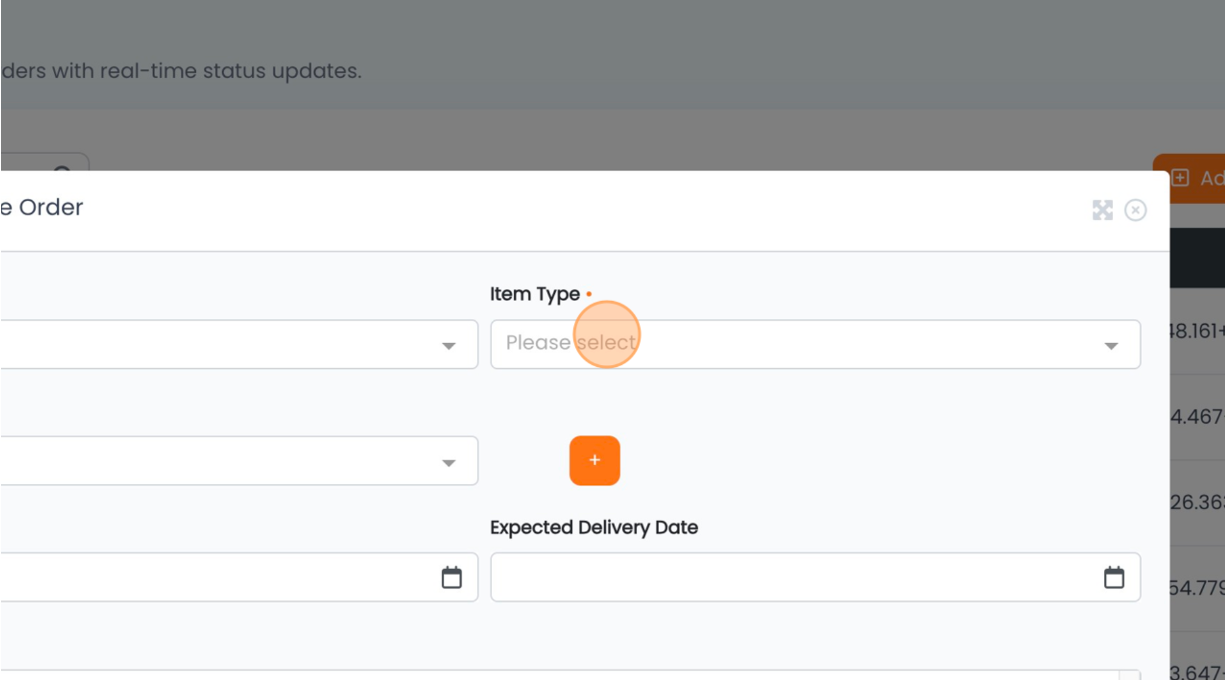
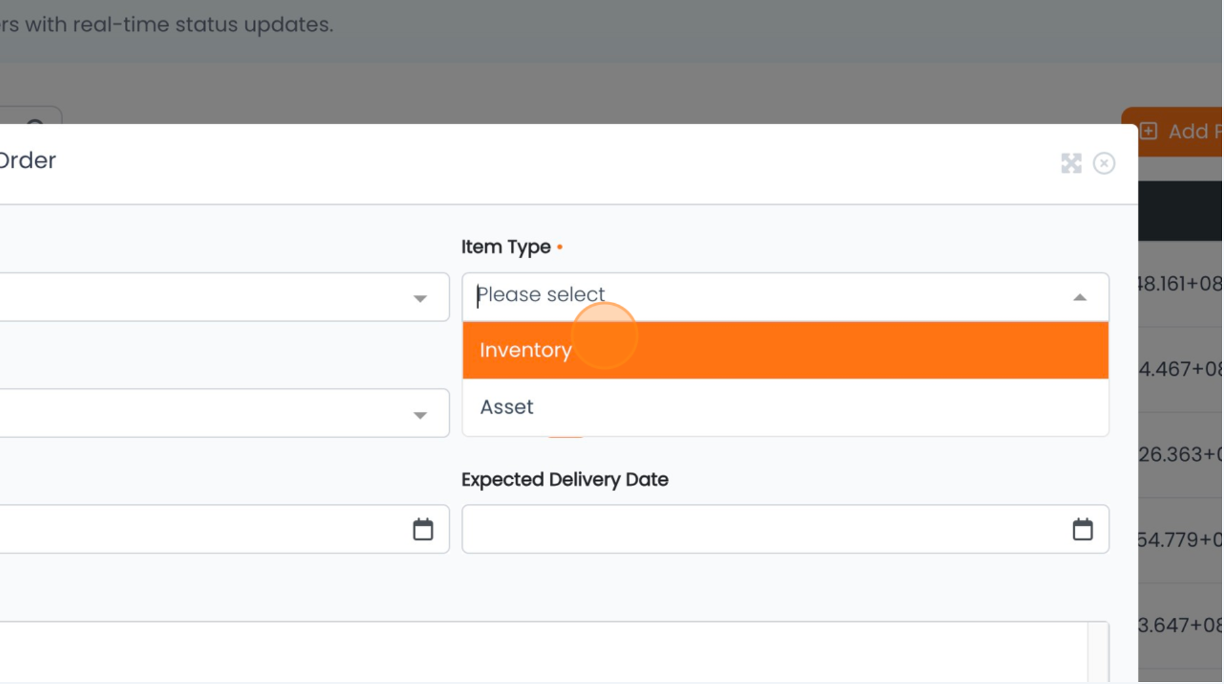
6. Next, select the item type for this PO. By default there are two selections. Namely: Inventory and Assets.
Inventory - these can either be raw materials, semi-finished, or finished goods.
Asset - goods which are not part of the recipe composition. Ex: cutlery, glassware, tissue, etc.
7. For this example, we'll be selecting "Inventory".
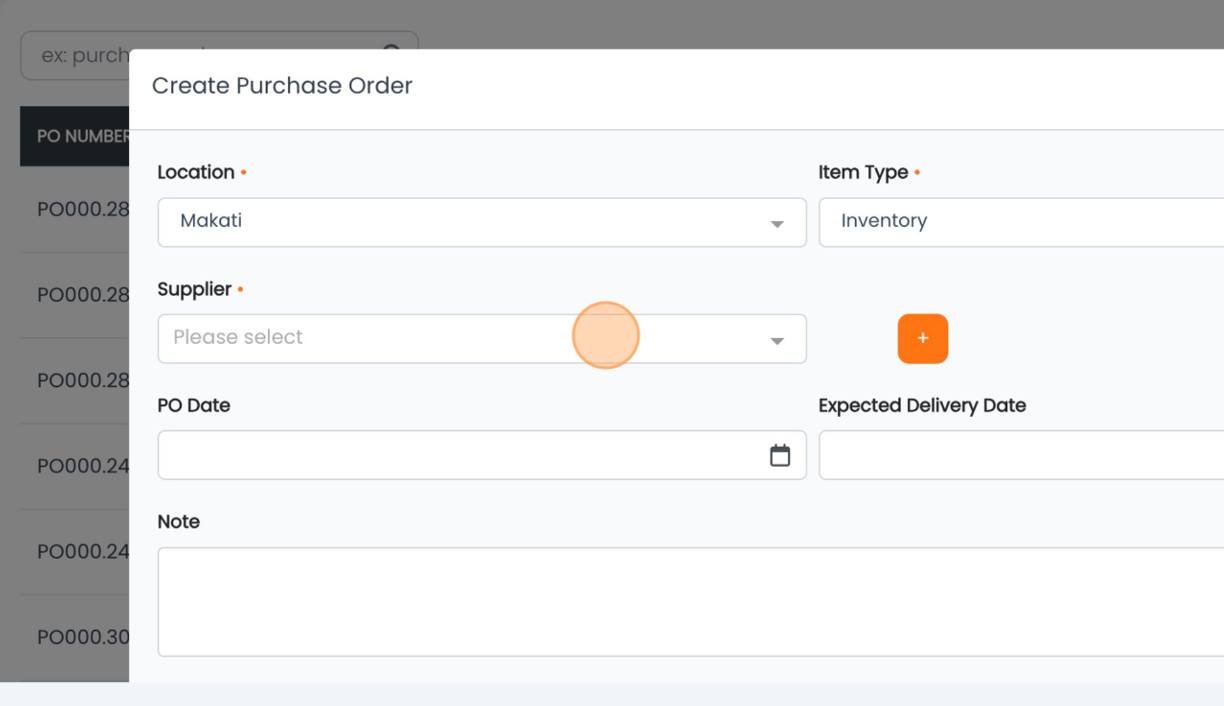
8. Crucially, select the Supplier for the PO.
When creating a Purchase Order from an existing Purchase Request (PR),
ensure to select the Supplier already chosen in the PR.
However, when creating a PO from scratch (no existing PR), just input the preferred Supplier.
When creating a Purchase Order from an existing Purchase Request (PR),
ensure to select the Supplier already chosen in the PR.
However, when creating a PO from scratch (no existing PR), just input the preferred Supplier.
9. Select the PO Date. Input the date of the PO creation as the PO date.
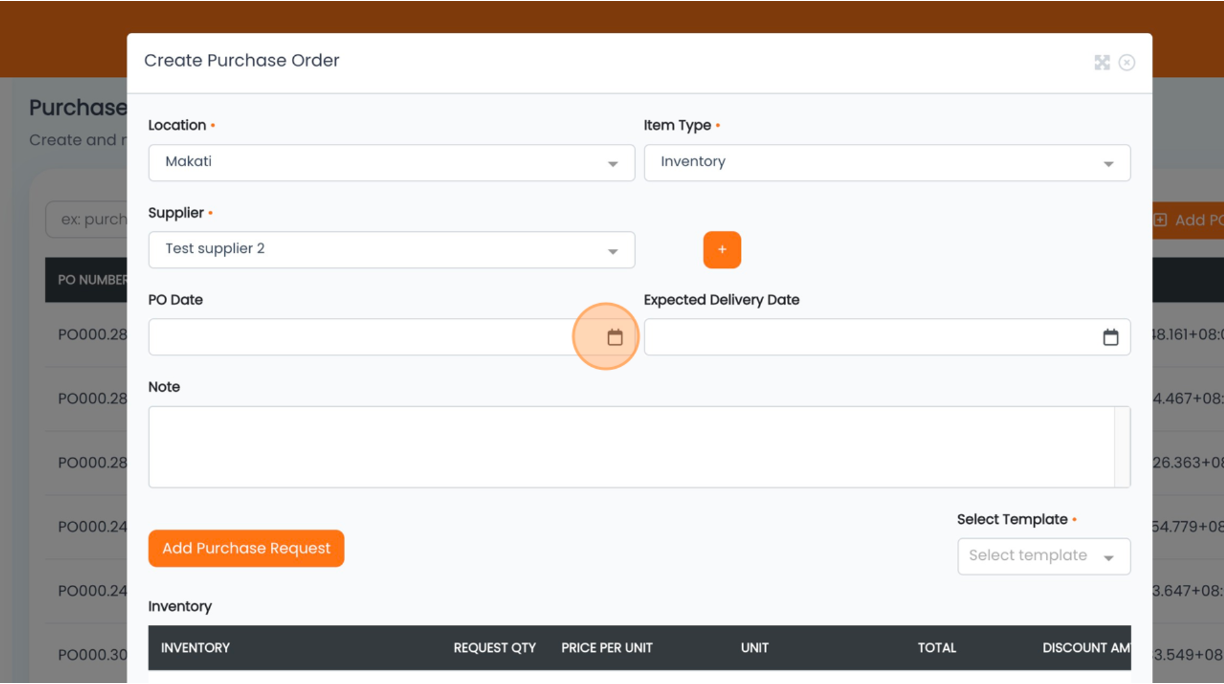
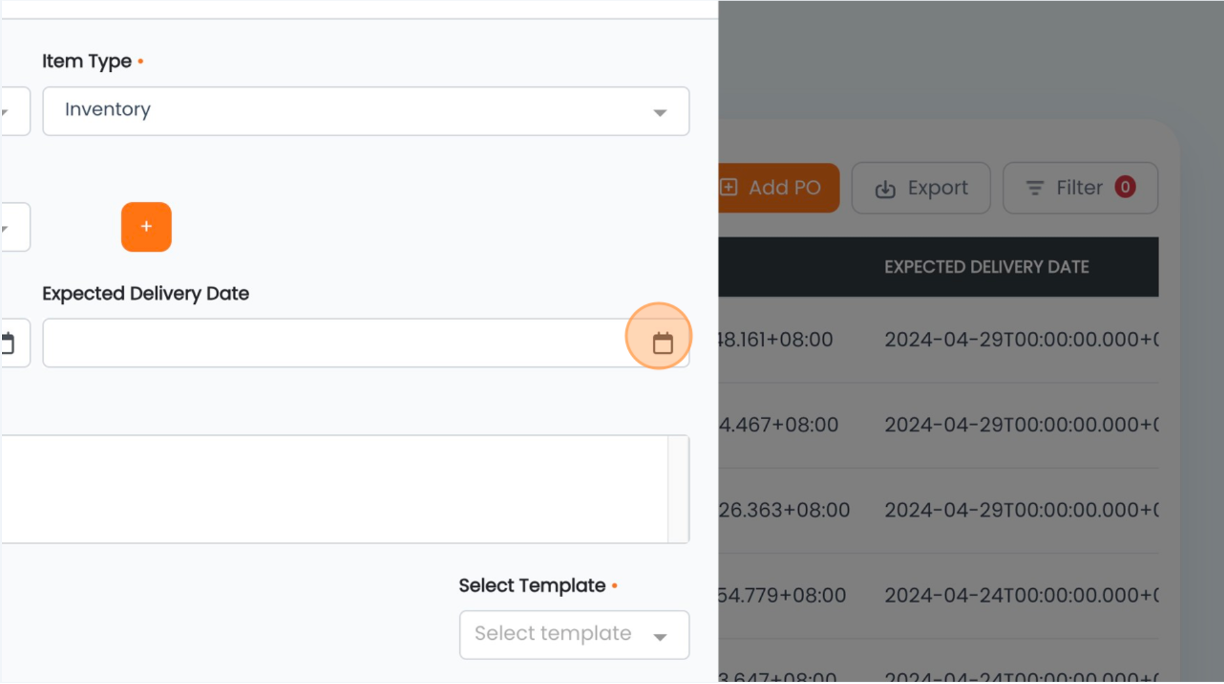
10. Enter the expected delivery date of the items requested.
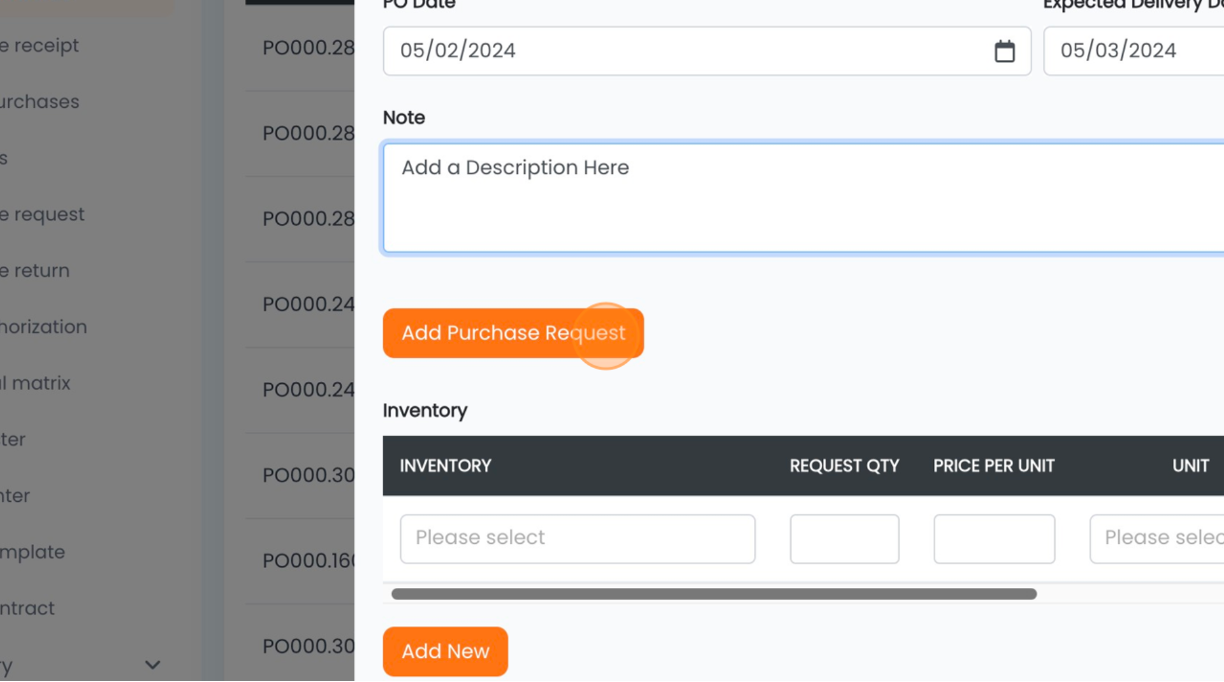
11. Optionally, you may input a note to help the approver/s understand the context as to what the PO is for.
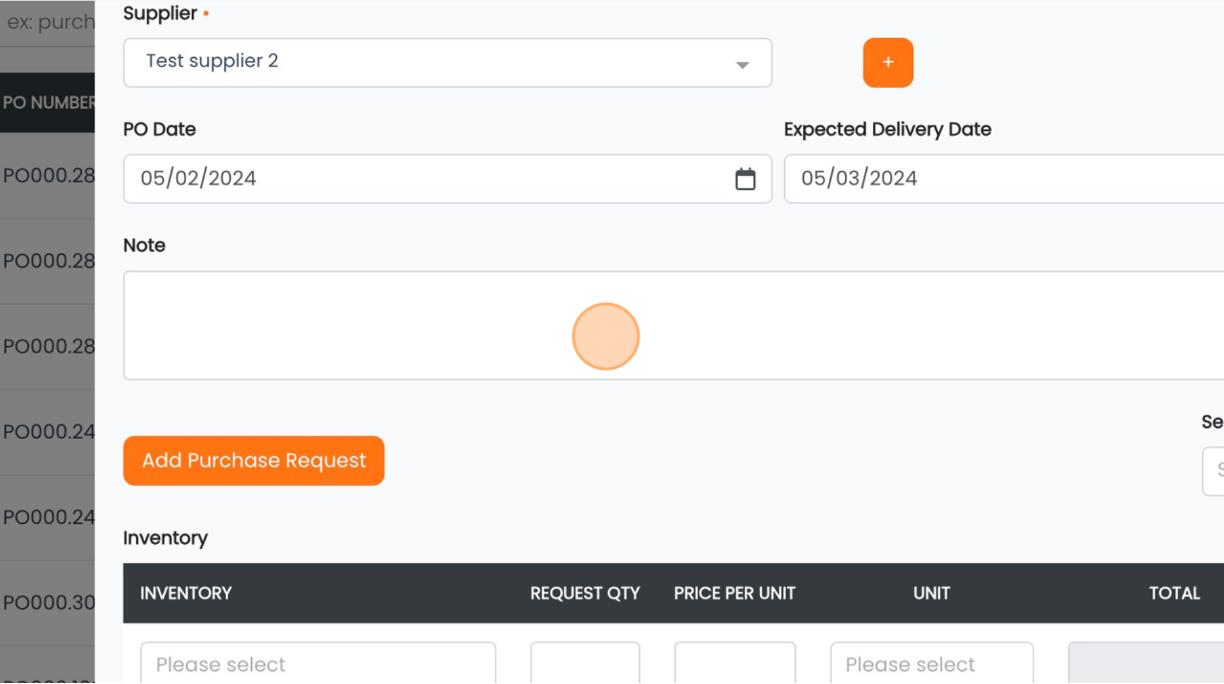
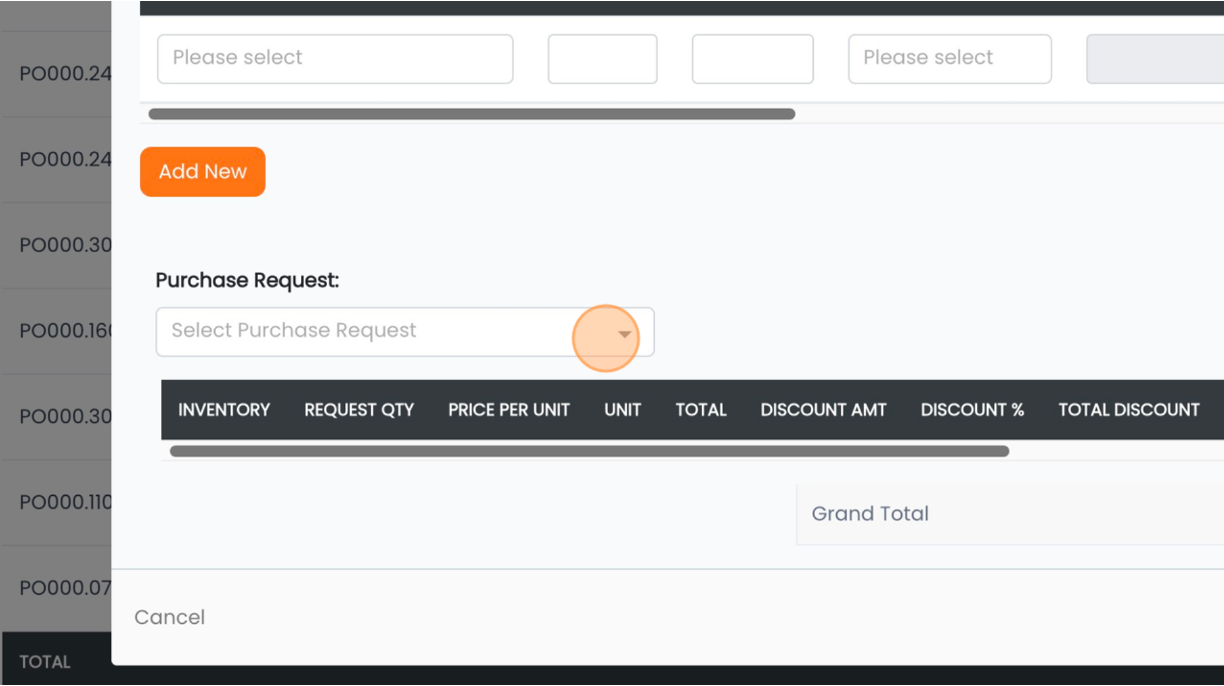
12. To recall an existing Purchase Request, click "Add Purchase Request". Recalling a PR is the standard and recommended way of creating a Purchase Order.
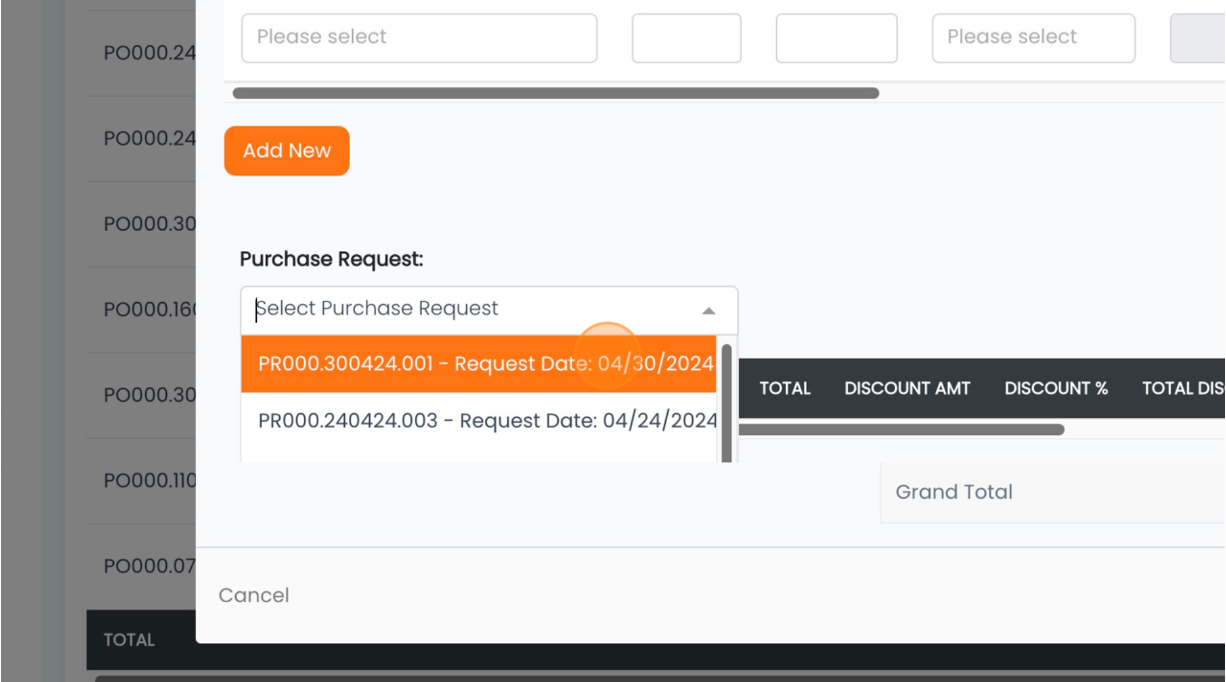
13. Use the drop-down menu to select all existing Purchase Requests of the Supplier you have selected (Step 8).
14. Select the PR.
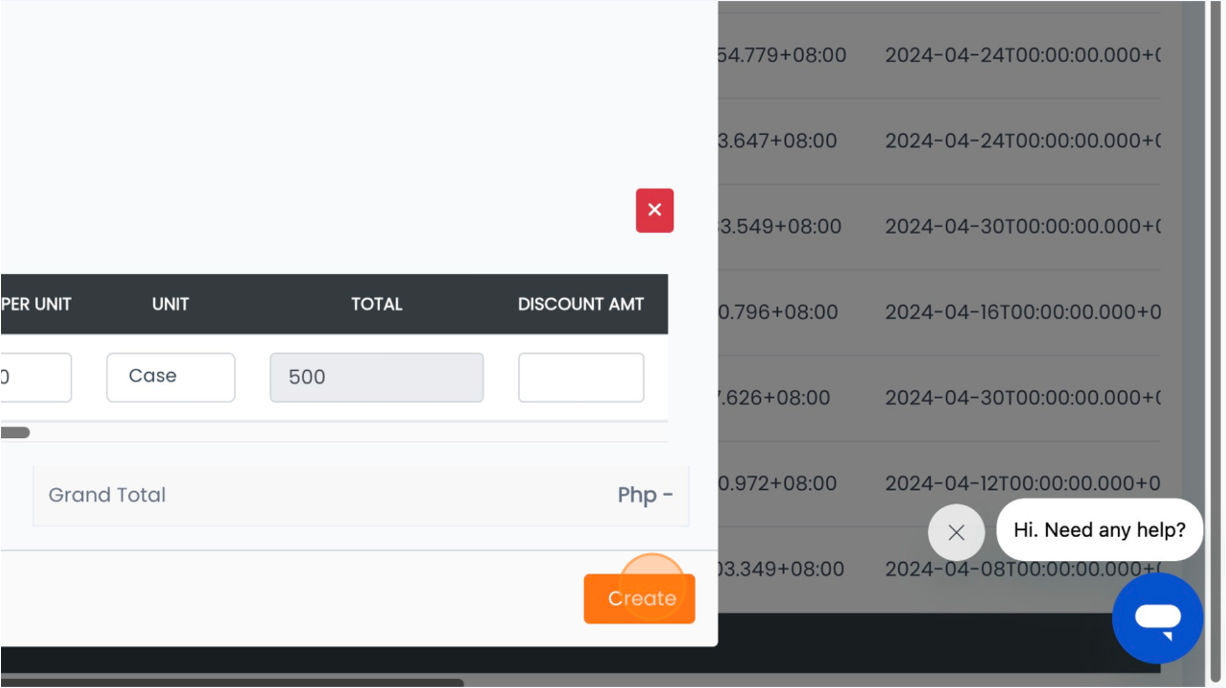
15. Make sure the details are correct, then Click "Create".